DIY Cigar Humidor: Build Your Own (Plans & Steps)
Building a cigar humidor from scratch involves making a wooden box, lining it with Spanish cedar, and creating a tight seal that can maintain 65 to 70% humidity. It's a genuine woodworking project, so set aside a weekend rather than an afternoon. The payoff is a humidor built to your exact size and style.
If you'd prefer to skip the woodworking, our DIY cigar humidor guide explains how to turn an existing container into a tupperdor or cooler humidor in under an hour.
Below, we'll cover the materials, construction steps, sealing, and seasoning, the details that determine whether your finished humidor can actually hold humidity.
The Humidor Supply Kit
How we pick: we weigh quality, real-world performance, and value across strengths and budgets — and only list what we’d actually buy. Buying through our links may earn us a commission at no extra cost to you.
The one supply you will buy on repeat. Each pack adds and absorbs moisture to hold its rated level exactly — stock the 8-pack and swap on schedule.
Check price on Amazon →- The Core Supply
Boveda 69% RH Size 60 (8-Pack)
The consumable every humidor runs on.
The one supply you will buy on repeat. Each pack adds and absorbs moisture to hold its rated level exactly — stock the 8-pack and swap on schedule.
Check price on Amazon →- 2-way control holds a precise RH
- No water, no maintenance
- 8-pack covers months of swaps
- Replace every 2–4 months
- Best Monitoring
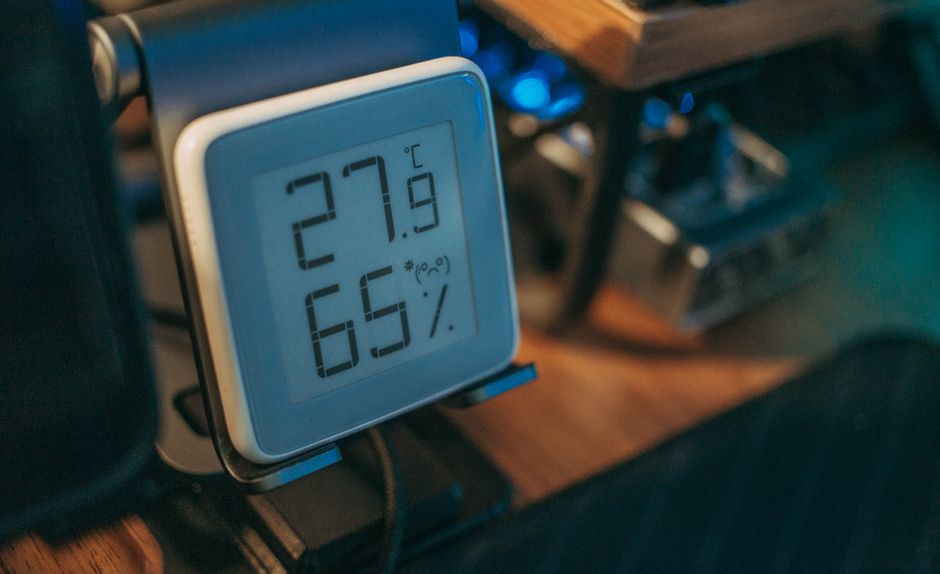
Govee Smart Bluetooth Hygrometer (2-Pack)
Catching humidity drift before cigars dry out.
A drifting humidor fails silently. App alerts turn a weeks-late discovery into a same-day pack swap — the biggest upgrade per dollar in this kit.
Check price on Amazon →- Logs humidity 24/7 to your phone
- Alerts when RH leaves your range
- Two units — humidor plus calibration spare
- Needs occasional battery swaps
- For New Humidors
Boveda 84% RH Seasoning Pack (Size 60)
One-time seasoning of fresh cedar.
Every new wooden humidor needs this once. It brings the dry cedar up to spec so the box stops stealing moisture from your first cigars.
Check price on Amazon →- Seasons cedar with zero water risk
- No warping, no mold
- 14 days, fully passive
- Single-use; not for storage
- Best Accuracy Check
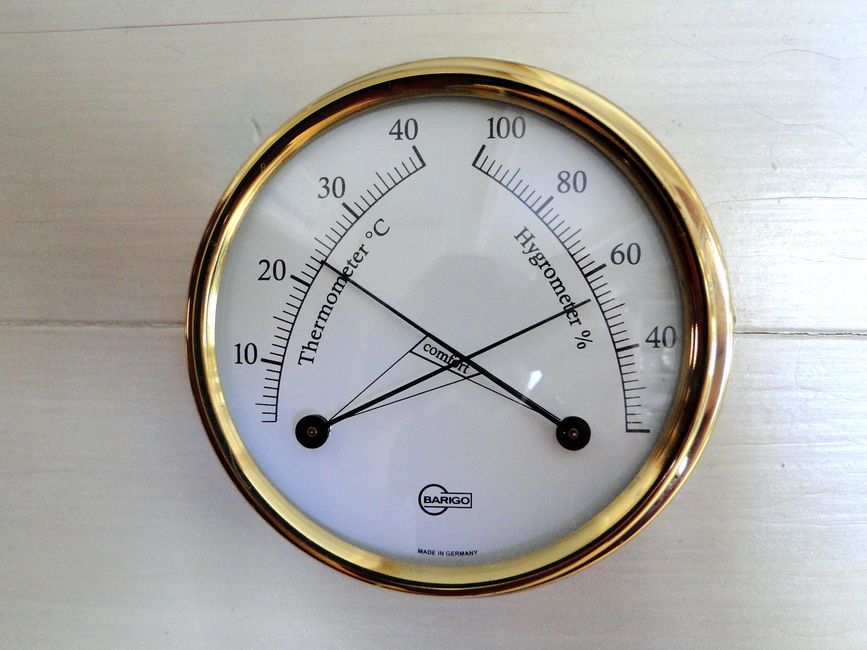
Boveda One-Step Calibration Kit
Verifying your hygrometer every 6 months.
Digital sensors drift quietly with age. A $6 check twice a year is what keeps every other reading in this kit trustworthy.
Check price on Amazon →- Sealed 75% reference environment
- 24-hour test, no salt mess
- Works on any hygrometer
- Single-use per test
| Pick | Best for | Price | |
|---|---|---|---|
| The Core SupplyBoveda 69% RH Size 60 (8-Pack) | The consumable every humidor runs on. | $25 | Check price → |
| Best MonitoringGovee Smart Bluetooth Hygrometer (2-Pack) | Catching humidity drift before cigars dry out. | $22 | Check price → |
| For New HumidorsBoveda 84% RH Seasoning Pack (Size 60) | One-time seasoning of fresh cedar. | $8 | Check price → |
| Best Accuracy CheckBoveda One-Step Calibration Kit | Verifying your hygrometer every 6 months. | $6 | Check price → |
Prices are indicative and change often — tap through for the live price on Amazon.
What you'll need
A from-scratch humidor build needs four core materials plus basic woodworking tools.
- Outer box material. Plywood, solid hardwood, or a pre-built unfinished box shell. Avoid particleboard — it doesn't hold up to humidity over time.
- Spanish cedar sheets. Thin, unfinished Spanish cedar panels for lining the interior. This is non-negotiable — cedar buffers humidity swings and is standard in every real humidor for a reason.
- Hinges and a lid. Piano (continuous) hinges distribute weight evenly across a long lid and resist warping better than two small hinges.
- A gasket or seal strip. Closed-cell foam weatherstripping or a dedicated humidor seal strip, applied around the lid's rim.
- Wood glue and small brads or screws, sandpaper, a basic saw (miter or table saw), and a humidity pack plus digital hygrometer for the finished box.
If you'd rather skip the wood build and go electric, see our wineador cigar cooler guide or our electric vs. regular cigar humidor comparison.
Step-by-step
Building a from-scratch humidor takes eight stages, from cutting the outer box to seasoning the finished lining. Follow them in order — sealing and seasoning both depend on the box being fully assembled first.
- Decide your size and sketch basic dimensions. A common starting point is a box roughly 12–16 inches wide, 8–10 inches deep, and 5–6 inches tall for a 25–50 cigar capacity — scale up proportionally for a larger collection.
- Cut and assemble the outer box. Build the four walls and base first, gluing and clamping the joints before adding fasteners. Leave the lid as a separate piece.
- Cut and fit the Spanish cedar lining. Line the interior walls, floor, and the underside of the lid with thin cedar sheets, gluing them flat with wood glue — avoid nails or screws through the visible cedar face.
- Attach the hinges. Mount a piano hinge along the back edge so the lid opens and closes without racking side to side.
- Apply the gasket seal. Run a strip of foam or dedicated humidor gasket material around the inside lip of the box (or the lid, not both) so it compresses evenly when closed.
- Test the seal. Close the empty box and check for light or airflow at the seams — a business card should resist being pulled out from under a closed lid if the seal is tight.
- Sand and finish the exterior only. Keep any stain, paint, or lacquer off the interior cedar — finishing the inside blocks the wood's ability to buffer humidity.
- Season the box before adding cigars. See the seasoning steps below — this step is not optional.
Sealing the lid for an airtight fit
The gasket is what actually makes a DIY humidor airtight, not the wood joinery alone. A well-built box with no gasket still leaks humidity around the lid over time, because wood alone won't compress into a perfect seal against itself. Foam weatherstripping (the same material used to seal doors) works well and is cheap; dedicated humidor gasket kits cost more but are cut to a more consistent thickness. Run the gasket in a single continuous strip rather than pieced segments — every seam in the gasket is a potential leak point.
Seasoning before first use
A newly built humidor must be seasoned before it holds cigars, exactly like a store-bought box — dry cedar will pull moisture straight out of your cigars if you skip this. Our best cigar humidors guide covers the full seasoning process in depth; the short version:
- Place a high-RH seasoning pack (typically 84%) inside the empty, closed box.
- Leave it sealed for two to four weeks, checking every few days rather than daily.
- Once the interior holds steady near your target range, swap in regular two-way humidity packs and load your cigars.
Never wipe fresh cedar down with a wet sponge to speed this up — it risks warping the wood and creating conditions for mold. A Boveda seasoning kit is the simplest way to season a new DIY build reliably.
Pro tips
A few small choices separate a humidor that holds humidity for years from one that needs constant fussing.
- Buy Spanish cedar already milled thin (1/8" to 1/4") rather than trying to resaw thicker stock yourself — it saves time and gives a more even finish.
- Oversize the gasket channel slightly so the seal compresses under the lid's own weight, rather than needing extra latches to hold it shut.
- Add a digital hygrometer, not the analog dial gauges that come with cheap kits — analog gauges commonly drift several points off true.
- Build a slightly larger box than you think you need. Collections grow, and a humidor sized exactly for today's cigar count is full within a year for most smokers.
- Scaling up to a cabinet-size build. The same materials and steps work for a full cigar humidor cabinet, not just a desktop box. Use heavier-duty hinges to support the larger door, and add more than one humidity pack and hygrometer so humidity stays even across the bigger interior.
Common mistakes to avoid
Most DIY humidor failures trace back to one of four avoidable errors.
- Finishing or sealing the interior cedar. Any lacquer, paint, or stain on the inside cedar blocks its ability to absorb and release moisture, defeating the purpose of using cedar at all.
- Skipping the gasket entirely. Tight-fitting wood joints alone won't hold humidity long-term; the gasket is doing most of the sealing work.
- Loading cigars before seasoning. This is the single most common DIY mistake and the fastest way to dry out a fresh batch of cigars.
- Using construction-grade plywood with formaldehyde-based glues for the outer shell — off-gassing can taint the tobacco even with a cedar liner inside.
FAQ
What wood do I need for a DIY cigar humidor?
Spanish cedar is required for the interior lining because it buffers humidity swings and resists tobacco beetle activity better than other woods. The exterior box can be built from any stable hardwood or good-quality plywood, since only the interior needs to be cedar.
How do I make my homemade humidor airtight?
A continuous foam or dedicated gasket strip around the lid's rim is what makes a DIY humidor airtight, not the wood joinery alone. Test the seal by closing the box on a business card — if you can pull it out easily, the seal needs adjustment.
Do I need to season a DIY humidor before using it?
Yes, every new humidor needs seasoning before cigars go inside, whether it's store-bought or homemade. Skipping this step lets dry cedar pull moisture out of your cigars during the first weeks of storage.
How big should I build my cigar humidor?
Size it to roughly double your current cigar count if you plan to keep collecting, since most smokers outgrow a humidor sized exactly for today's collection within a year. A box around 12–16 inches wide by 8–10 inches deep suits a 25–50 cigar capacity as a rough starting reference.
How much does it cost to build a DIY cigar humidor?
A DIY cigar humidor usually runs somewhere around $30 to $60 in materials, depending on size and what you already have on hand. The outer box material and Spanish cedar sheets are the biggest cost, especially if you buy cedar pre-milled instead of resawing your own stock. Hinges, gasket or seal strip, glue, and hardware add a smaller amount on top of that. A humidity pack and digital hygrometer round out the build and push the total toward the higher end of that range. A larger or cabinet-size build costs more, since it needs more cedar, a heavier hinge, and often a second humidity pack and hygrometer.
What humidity target should I hold once my build is seasoned, and how long should a cigar rest inside it?
Aim for the same 65 to 70% RH target (or the 135 rule of temperature plus humidity adding to roughly 135) any commercial humidor uses, since a DIY build follows identical humidity physics once it's cedar-lined and sealed. See our best cigar humidors guide for the full 135-rule breakdown and how long a cigar should sit before you smoke it.
Conclusion
A from-scratch DIY cigar humidor comes down to the same fundamentals as any commercial box: real Spanish cedar lining, an airtight gasket seal, and a full seasoning cycle before you load it. Get those three right and a homemade box holds humidity every bit as well as one you'd buy off the shelf. Once it's built and seasoned, use the Humidor Tracker to log what's inside and get reminders before your humidity packs run dry.